
ご注意下さい
この記事は3年以上前に書かれた記事ですので、内容が古い可能性があります。
GoogleがSSL対応ページのランクを若干上げたこと、昨今Wifiなどの普及により誰に覗き見されているかわからないことから当サイトもSSL化対応してみたいと思います。
SSL化に当たってはオレオレ証明書でもいいのですが、最近は格安証明書発行サービスも多数あることからどれか選んで使ってみたいと思います。
ちなみにSSLサーバー証明書を発行してもらうメリットは大きく以下の2点です。
SSLサーバー証明書を利用するメリット
- アクセスしているHP(ドメイン)の持ち物が持ち主であることの認証
- 通信経路の暗号化
- (おまけ)Googleでのランクが少し上がる(らしい)
ただし格安証明書はDVというドメイン認証のみの簡易な認証となっていますのでフィッシングサイトだろうが正式なサイトであろうがドメインの持ち主であれば承認されてしまうため信頼度はいま一歩です。ただし唯一個人で取得できるサーバー証明書となっています。
まぁ私ごときのサイトを騙る人もいないと思うのでそういう意味ではあまり意味がないかもしれません。
この記事のもくじ
mod_sslの導入
さっそくですが、ApacheをSSL化するにはmod_sslが必要ですのでサクッとインストールします。
読み込んだプラグイン:fastestmirror
Loading mirror speeds from cached hostfile
* base: ftp.iij.ad.jp
* extras: ftp.iij.ad.jp
* updates: ftp.iij.ad.jp
依存性の解決をしています
--> トランザクションの確認を実行しています。
---> パッケージ mod_ssl.x86_64 1:2.4.6-45.el7.centos.4 を インストール
--> 依存性解決を終了しました。
依存性を解決しました
====================================================================================================
Package アーキテクチャー バージョン リポジトリー 容量
====================================================================================================
インストール中:
mod_ssl x86_64 1:2.4.6-45.el7.centos.4 updates 105 k
トランザクションの要約
====================================================================================================
インストール 1 パッケージ
総ダウンロード容量: 105 k
インストール容量: 224 k
Is this ok [y/d/N]: y
Downloading packages:
mod_ssl-2.4.6-45.el7.centos.4.x86_64.rpm | 105 kB 00:00:00
Running transaction check
Running transaction test
Transaction test succeeded
Running transaction
インストール中 : 1:mod_ssl-2.4.6-45.el7.centos.4.x86_64 1/1
検証中 : 1:mod_ssl-2.4.6-45.el7.centos.4.x86_64 1/1
インストール:
mod_ssl.x86_64 1:2.4.6-45.el7.centos.4
完了しました!
#
以上でインストールは完了です。
証明書発行
証明書発行機関はVerisign(現在はSymantec)など多数ありますが、個人で利用するのでできる限り格安の証明書発行機関を選ぼうと思いますが、FujiSSL(https://www.ssl-store.jp/fujissl/)は年額1,080円と群を抜いて安いかったためこちらを利用してみたいと思います。
会員登録
トップページから「会員登録(無料)」を選択し、住所、名前、電話番号、メールアドレスを入力するとアクティベートの為のメールが送られてきますのでリンクをクリックしてアクティベーションしましょう。

購入方法
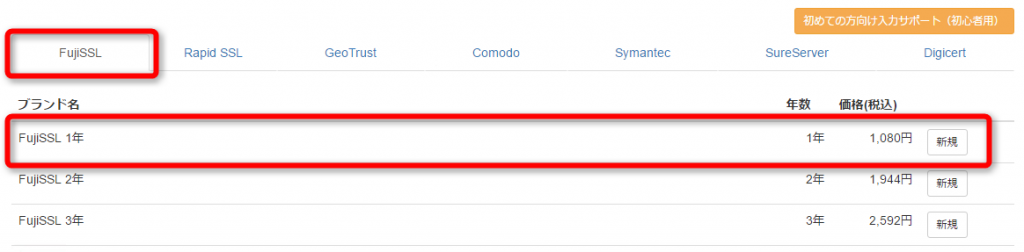
会員サイトにログインし、「証明書」→「証明書購入」を選択します。

「FujiSSL」を選びとりあえず1年を選択します。
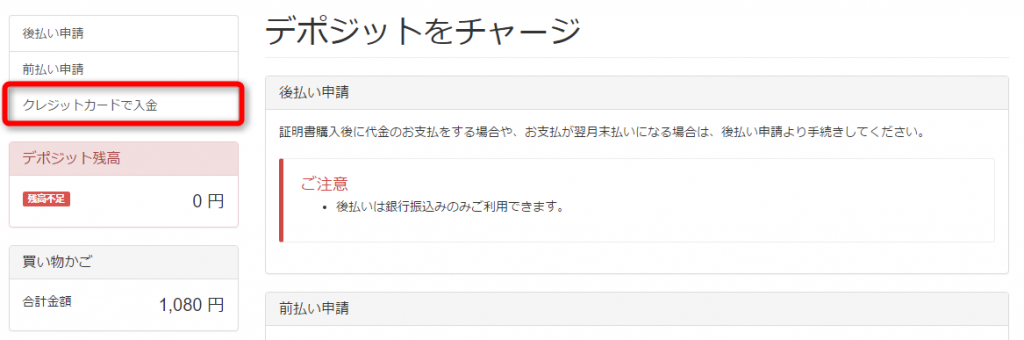
決済手段はクレジットカードがいいでしょう。前金でチャージしそれを支払う形式です。
チャージ用の決済が完了しました。
レジでFuji-SSLを購入しました。

証明書発行
手順としては秘密鍵(KEY)の生成を行い、証明書署名要求(CSR)を作成し、サーバ証明書(CRT)を作成するわけですが、自分で証明書署名要求(CSR)に署名するのではなく、フジSSL側に渡し署名してもらいサーバ証明書を発行してもらうことになります。
ということで秘密鍵を生成しましょう。
# pwd
/etc/ssl/certs
#
# openssl md5 * > rand.dat
# openssl genrsa -rand rand.dat -des3 2048 > kamata.key
324 semi-random bytes loaded
Generating RSA private key, 2048 bit long modulus
.......................................................................................................................................................................................................................+++
....+++
e is 65537 (0x10001)
Enter pass phrase:
Verifying - Enter pass phrase:
#
des3オプションを付けなければパスフレーズなしになりますが、セキュリティ上の観点からパスフレーズ付きで2048ビットの鍵の生成をお勧めします。
なお、パスフレーズもランダムなものにしないといけません。
として表示されたランダムな文字列に!、>、.、$などの記号も入れてパスフレーズを作成しましょう。
さて、続いてCSRの生成です。
Enter pass phrase for kamata.key:
You are about to be asked to enter information that will be incorporated
into your certificate request.
What you are about to enter is what is called a Distinguished Name or a DN.
There are quite a few fields but you can leave some blank
For some fields there will be a default value,
If you enter '.', the field will be left blank.
-----
Country Name (2 letter code) [XX]:JP
State or Province Name (full name) []:Tokyo
Locality Name (eg, city) [Default City]:Ohta-Ku
Organization Name (eg, company) [Default Company Ltd]:Kamata-Net
Organizational Unit Name (eg, section) []:Apache
Common Name (eg, your name or your server's hostname) []:blog.kamata-net.com
Email Address []: <-Enter
Please enter the following 'extra' attributes
to be sent with your certificate request
A challenge password []:<-Enter
An optional company name []:<-Enter
#
できたCSRの中身を見てみましょう。
ちゃんと指定した通りにできていることが確認できました。
証明書署名・発行
会員サイトに戻り、「証明書」→「証明書管理」を選択し下の方にコモンネームが「アクティベート待ち」となっているものについて「詳細」ボタンを押下します。

「アクティベート申請」ボタンを押下して次に進みます。

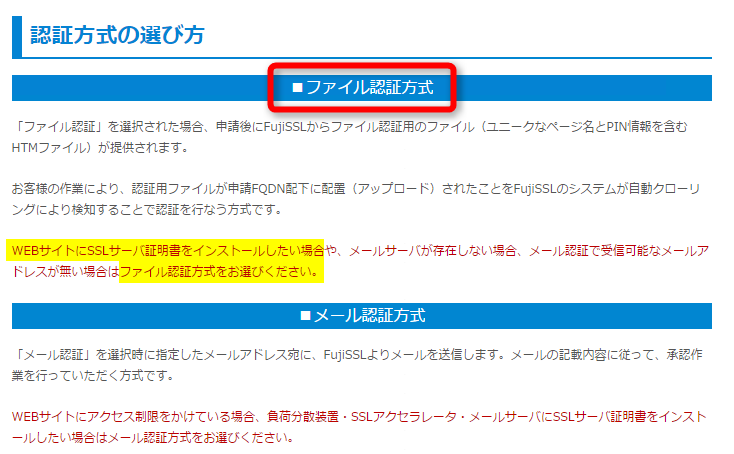
コモンネームは当サイトの「blog.kamata-net.com」、認証方式は「ファイル認証」を選択します。
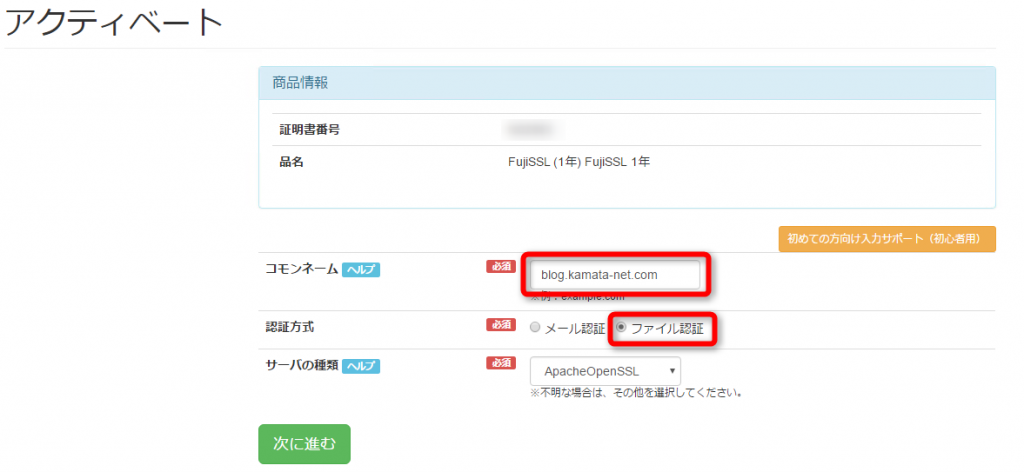
WebサーバのSSL対応の場合は「ファイル認証」を選択するようです。
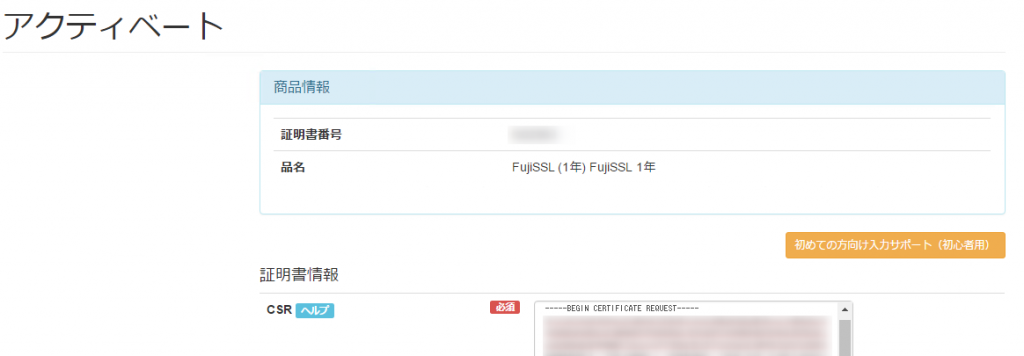
次の画面で、生成したCSRの情報をコピー&ペーストし、住所などの必要事項を記入します。
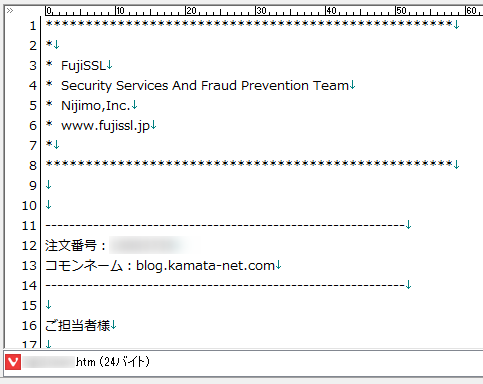
完了すると以下のようなメールが送られてきますので添付ファイルをWebサーバのDocument Rootに配置します。
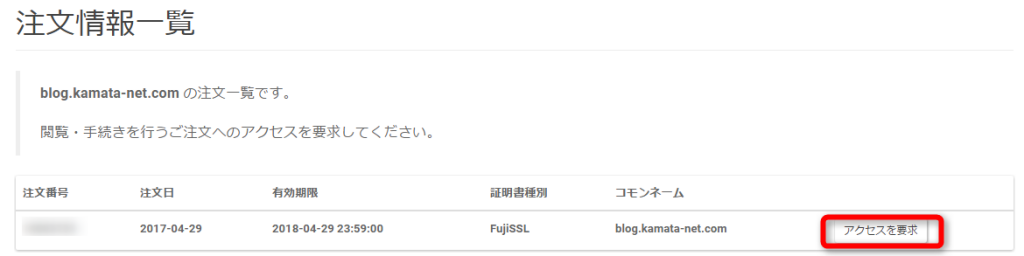
自動的にクローリングされてチェックされるのですが、チェックを要求したい場合にはユーザーポータル(https://product.fujissl.jp)にアセスし、
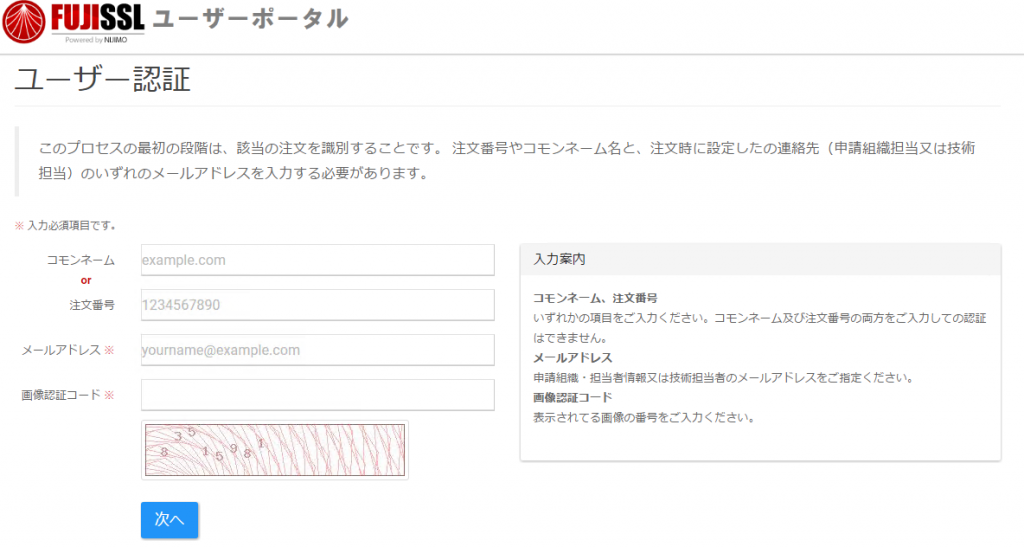
「アクセスを要求」ボタンを押下しましょう。
チェックを完了すると、サーバー証明書が送られてきます。
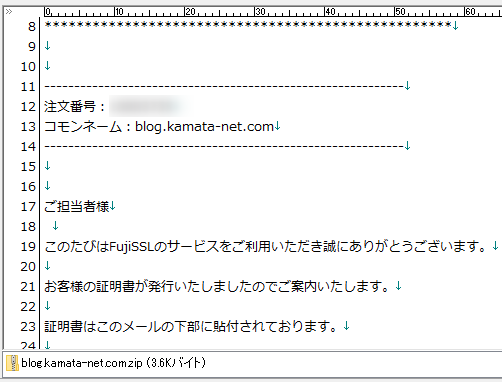
zipファイルを解凍すると以下のようにサーバー証明書と中間CA証明書が入っています。

Webサーバー側の設定
証明書の配置
メールで添付されたサーバー証明書、中間CA証明書をWebサーバに移送し解凍します。
Archive: blog.kamata-net.com.zip
inflating: blog.kamata-net.com.crt
inflating: ca-bundle.ca
inflating: README.txt
#
必要に応じてファイル名の変更や適切なパーミッションを設定しましょう。Keyは秘密鍵ですから公開は不要です。中間CA証明書及びサーバ証明書はRead Onlyで公開しましょう。
# mv kamata.key blog.kamata-net.crt
# chmod 444 blog.kamata-net.ca
# chmod 444 blog.kamata-net.com.crt
# chmod 400 blog.kamata-net.com.key
# ls -l blog.kamata-net.com.*
-r--r--r-- 1 root root 3228 4月 29 22:35 blog.kamata-net.com.ca
-r--r--r-- 1 root root 1598 4月 29 22:36 blog.kamata-net.com.crt
-r-------- 1 root root 1743 4月 29 19:26 blog.kamata-net.com.key
#
Apacheの設定
/etc/httpd/conf.d/ssl.confを編集します。
#   Server Certificate:
# Point SSLCertificateFile at a PEM encoded certificate.  If
# the certificate is encrypted, then you will be prompted for a
# pass phrase.  Note that a kill -HUP will prompt again.  A new
# certificate can be generated using the genkey(1) command.
#SSLCertificateFile /etc/pki/tls/certs/localhost.crt
SSLCertificateFile /etc/ssl/certs/blog.kamata-net.com.crt

#   Server Private Key:
#   If the key is not combined with the certificate, use this
#   directive to point at the key file.  Keep in mind that if
#   you've both a RSA and a DSA private key you can configure
#   both in parallel (to also allow the use of DSA ciphers, etc.)
#SSLCertificateKeyFile /etc/pki/tls/private/localhost.key
SSLCertificateKeyFile /etc/ssl/certs/blog.kamata-net.com.key

#   Server Certificate Chain:
#   Point SSLCertificateChainFile at a file containing the
#   concatenation of PEM encoded CA certificates which form the
#   certificate chain for the server certificate. Alternatively
#   the referenced file can be the same as SSLCertificateFile
#   when the CA certificates are directly appended to the server
#   certificate for convinience.
#SSLCertificateChainFile /etc/pki/tls/certs/server-chain.crt
SSLCertificateChainFile /etc/ssl/certs/blog.kamata-net.com.ca
上記以外にVirtualHostの設定が必要な方はssl.confに設定を追記します。
Apache 2.4.8以降の場合
Apache 2.4.8 から中間CA証明書を指定するSLCertificateChainFile ディレクティブが廃止されました。ですので、中間CA証明書はサーバ証明書と一つの証明書ファイルとしてまとめる必要があります。
Apacheの自動起動設定
さて、ここまで来たら一度Apacheの再起動をしましょう。すると秘密鍵をパスフレーズ付きで生成したので以下のようにパスフレーズを毎回入力する必要が出てきます。サーバーの再起動毎に手入力するのもメンテナンス負荷が高いので自動起動するようにしましょう。
Enter SSL pass phrase for blog.kamata-net.com:443 (RSA) : ******************
#
実はApacheはhttpd-ssl-pass-dialogというコマンドを実行しているんですね。
#   Pass Phrase Dialog:
#   Configure the pass phrase gathering process.
#   The filtering dialog program (`builtin' is a internal
#   terminal dialog) has to provide the pass phrase on stdout.
SSLPassPhraseDialog exec:/usr/libexec/httpd-ssl-pass-dialog
/usr/libexec/httpd-ssl-pass-dialogを見てみると、この中でパスフレーズを聞いているだけのようですので3行目をコメントアウトし、4行目を追加してしまいましょう。
#!/bin/sh

#exec /bin/systemd-ask-password "Enter SSL pass phrase for $1 ($2) : "
echo "(パスフレーズ)"
パスフレーズが記載されているのでパーミッションは見直します。
-rwxr-xr-x 1 root root 104 4月 30 11:56 /usr/libexec/httpd-ssl-pass-dialog
# chmod 700 /usr/libexec/httpd-ssl-pass-dialog
# ls -al /usr/libexec/httpd-ssl-pass-dialog
-rwx------ 1 root root 104 4月 30 11:56 /usr/libexec/httpd-ssl-pass-dialog
WordPressのSSL化
こちらは、WordPressのプラグインにReally Simple SSLというプラグインを利用してみることにします。プラグインの中でhttp://~をhttps://~にリダイレクトしてくれるプラグインです。
公式プラグインですので、検索してがあるのでこちらを有効にするだけです。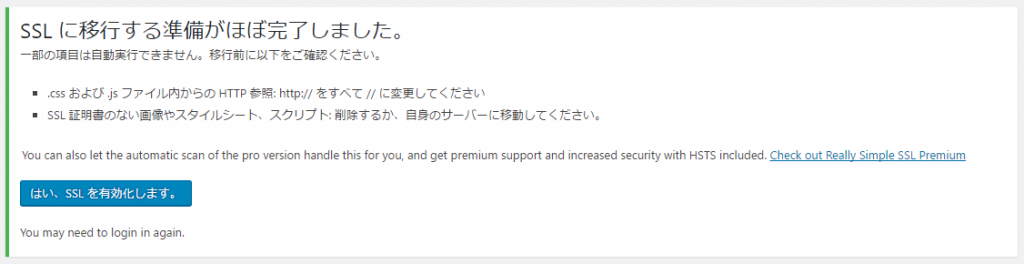
https://blog.kamata-net.com/にアクセスするとhttps://にリダイレクトされ、緑色の鍵が現れました。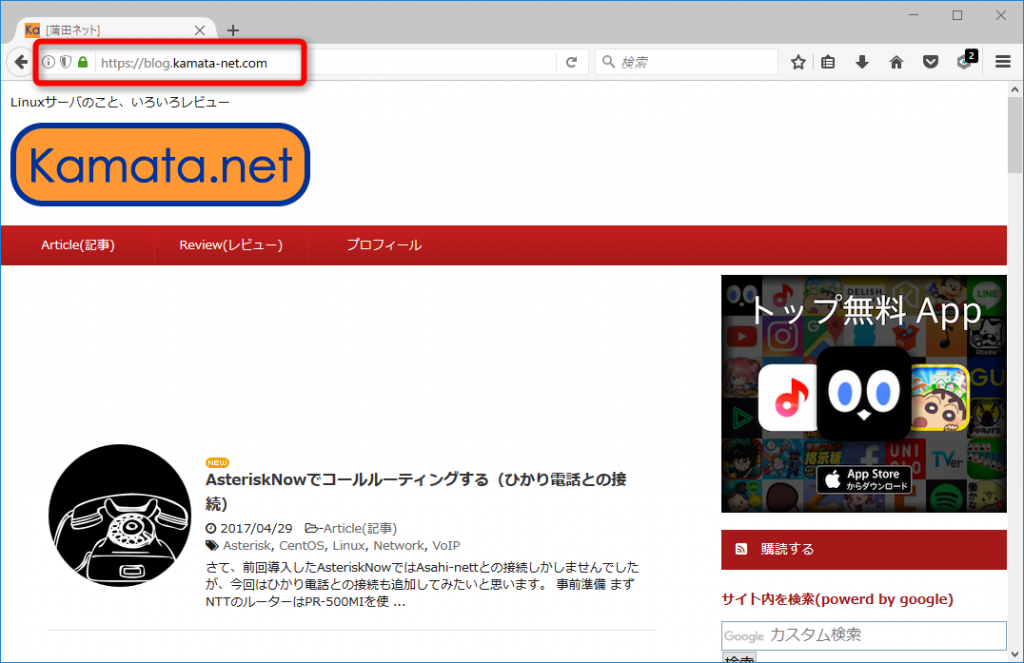
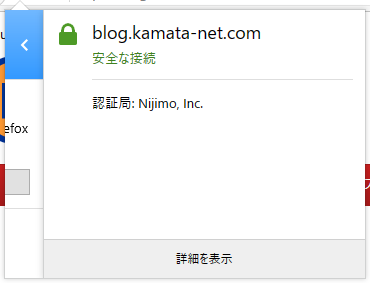
詳細を確認してみても、以下の通りFUJISSL側で署名されたサーバー証明書となっています。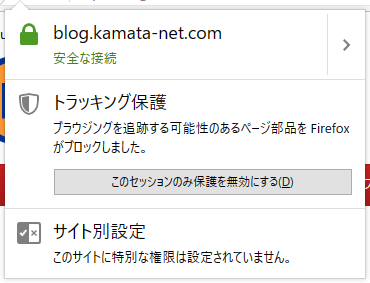


サーバ証明書の更新
証明書の更新については以下の記事を御覧ください。
-

-
格安SSL証明書を更新する(Fujisslの場合)
HTTPS(SSL)化に必須のサーバー証明書ですが、格安で安定性に定評のあるFujisslのサーバー証明書について更新期限が来たので更新してみました。 …続きを見る
記事は以上。